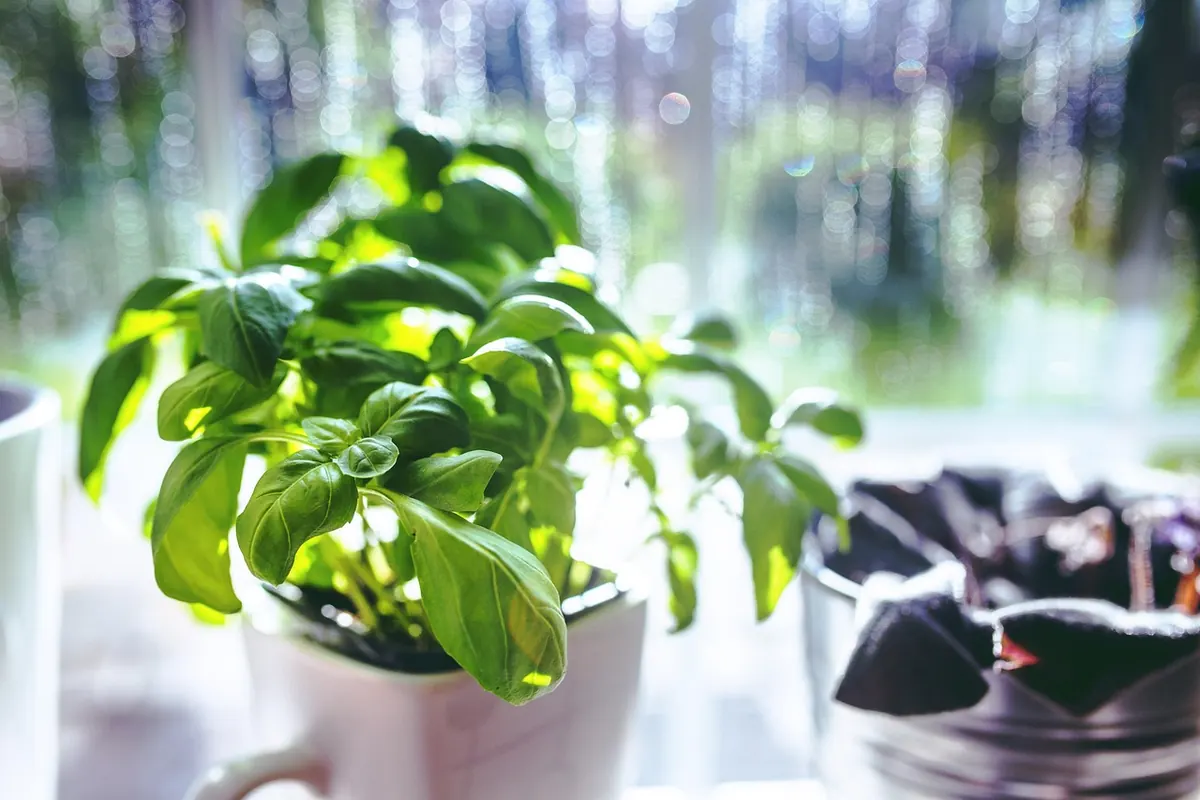
How to Grow Basil from Seed on a UK Windowsill
Basil is one of those herbs that tastes of somewhere warmer, yet it will happily grow a few feet from a British kettle. The trick is understanding what it wants: heat to germinate, as much light as your house can offer, and compost that is damp rather than drenched. Get those three roughly right and you can be cutting leaves for a summer salad about eight weeks after sowing. Here is how to do it, step by step, without any special kit.
What you need before you sow
Nothing on this list is expensive, and most of it is probably already in the shed or under the sink. Gather it first so you are not hunting for a pot with a handful of damp seed in your other hand.
- A clean pot or seed tray with drainage holes — small 7cm pots are ideal
- Peat-free multipurpose compost, or a finer seed compost if you have it
- Fresh basil seed; last year's packet is usually fine, but old seed germinates poorly
- A clear plastic bag, cling film or a propagator lid
- A spray bottle or a watering can with a fine rose
- Labels and a pencil, plus a warm, bright windowsill
Which basil, and which windowsill
Sweet Genovese is the classic large-leafed basil for pesto and tomatoes, and it grows well indoors given enough light. Bush basil, sometimes sold as Greek basil, stays compact and suits a small pot on a kitchen sill. Purple varieties such as Crimson King look handsome but are slightly slower. Thai and lemon basils are worth a pot each if you cook with them, though they tend to be a little more tender.
Light matters more than anything else after germination. A south-facing windowsill is the best spot in the house; east-facing is workable, west-facing is acceptable from May onwards, and a north-facing sill will give you pale, stretched seedlings that never really thrive. If your only window faces north, start your sowing in late April rather than March and accept slower growth.
One British quirk to plan for: single-glazed windowsills get genuinely cold at night in March and April. Move pots onto a nearby table after dark during cold spells, and bring them back to the light in the morning. Basil is a tender annual and a chilly night sets it back for a week.
Sowing, step by step
- Fill your pot or tray with compost, firm it gently with your fingers, then water and let it drain. Starting with damp compost means you do not have to water again until the seedlings appear.
- Scatter the seed thinly across the surface. Aim for roughly one seed every 2–3cm. Basil seed is small but easy to see, so take your time.
- Press the seeds into the compost with a flat hand. Basil germinates best with light, so cover them with only a dusting of compost — no more than 3–5mm.
- Mist the surface lightly and cover with a clear lid, a plastic bag or cling film. This keeps humidity high and stops the surface drying out.
- Keep the pot at around 18–22°C. A warm kitchen, an airing cupboard for the first few days or a propagator all work. Avoid sitting pots directly on a radiator, where they dry out fast.
- Check daily. Germination usually takes five to fourteen days, and the moment green appears the cover comes off and the pot goes into full light.
Germination: the two things that matter
While the seeds are under cover, they need steady warmth and consistent moisture. Not soaking wet — basil seed rots in waterlogged compost. If you can see condensation on the inside of the lid, you probably do not need to water at all.
The most common failure is damping off, where seedlings keel over at soil level as though pinched. It happens when compost is cold, wet and airless. Use clean containers, take the cover off as soon as the first seedlings show, and thin crowded seedlings rather than letting them sit in a damp huddle. Once they are up, they need bright light immediately; even two days of dim light produces weak, leggy stems that never recover properly.
Growing on: pricking out, watering and pinching
Pricking out
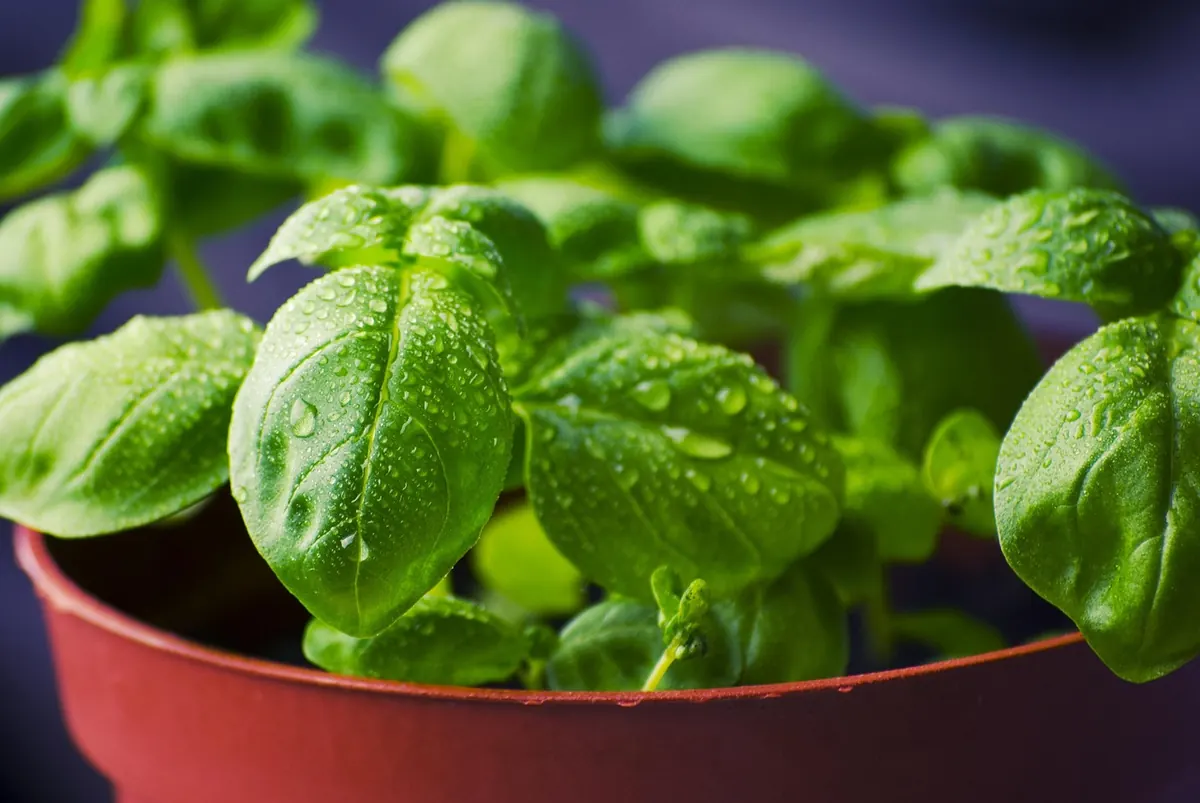
When seedlings have their first pair of true leaves — the second set, shaped like proper basil leaves — lift them into individual 7–9cm pots of multipurpose compost. Handle them by a leaf, never by the stem, and plant them slightly deeper than they were growing. Water in gently and keep them out of direct midday sun for a day or two while they settle.
Watering and feeding
Water when the surface of the compost feels dry to the touch, ideally in the morning. Basil dislikes sitting in a puddle, so empty saucers after ten minutes. Once plants have been in their pots for about a month, the compost's nutrients are largely used up; a general-purpose liquid feed at half the recommended strength every fortnight keeps leaves coming.
Pinching out
This is the step most beginners skip, and it makes all the difference. When a plant has two or three sets of leaves, pinch out the growing tip just above a pair of leaves with your fingernails. The plant responds by branching from below, giving you a bush rather than a single stem. Repeat every few weeks, and remove any flower buds as soon as you see them — once basil flowers, leaf production slows and the flavour turns sharper.
Turn your pots a quarter turn each day. Basil leans towards the light with real determination, and a daily nudge keeps it straight.
Common problems on a British windowsill
Long, pale, floppy seedlings. Not enough light. Move the pot closer to the glass and accept that you may need to start again.
Yellowing lower leaves. Usually overwatering. Let the top centimetre of compost dry out before watering again.
Greenfly or whitefly. Check the undersides of new leaves. A firm spray of water dislodges small numbers; repeated infestations are easier to prevent by keeping plants well spaced with good airflow.
Grey, fuzzy patches on leaf undersides with yellowing above. This looks like downy mildew, which spreads quickly in still, humid air. Remove affected leaves and increase the space between pots.
Keep the supply coming
One pot of basil gives you a few good weeks, not a whole summer, so sow a small pot every three to four weeks from late March until early July. Succession sowing means you always have young, tender plants coming on as the older ones tire.
Basil also roots easily from cuttings. Snip a stem just below a leaf joint, strip the lower leaves, stand it in a glass of water on the windowsill and pot it up when roots appear. If you buy a living herb pot from the supermarket, divide the crowded clump into three or four pots and grow them on — it is the cheapest basil you will ever raise. Harvest from the top of the plant, always above a leaf pair, and never take more than a third of the leaves at once. Sow, pinch, water, repeat — and you will be picking your own leaves well into autumn.
Photo: kaboompics / Pixabay